Printers and connector
The till runs in the cloud, your printers stand in the venue. The two are connected by the connector – a small program on a computer at your place.
1. Setting up the connector
- In the back office under Settings → Connector, download the program and put it in its own folder, for example C:\DevyPOS.
- Download the access file konnektor.txt and put it in the same folder.
- Start the program. In the back office the state changes to Running. So that it starts again by itself after a reboot: Download autostart file and, on Windows, put it in the startup folder (Windows key + R, then shell:startup); for Linux the page describes the systemd way.
2. Adding printers
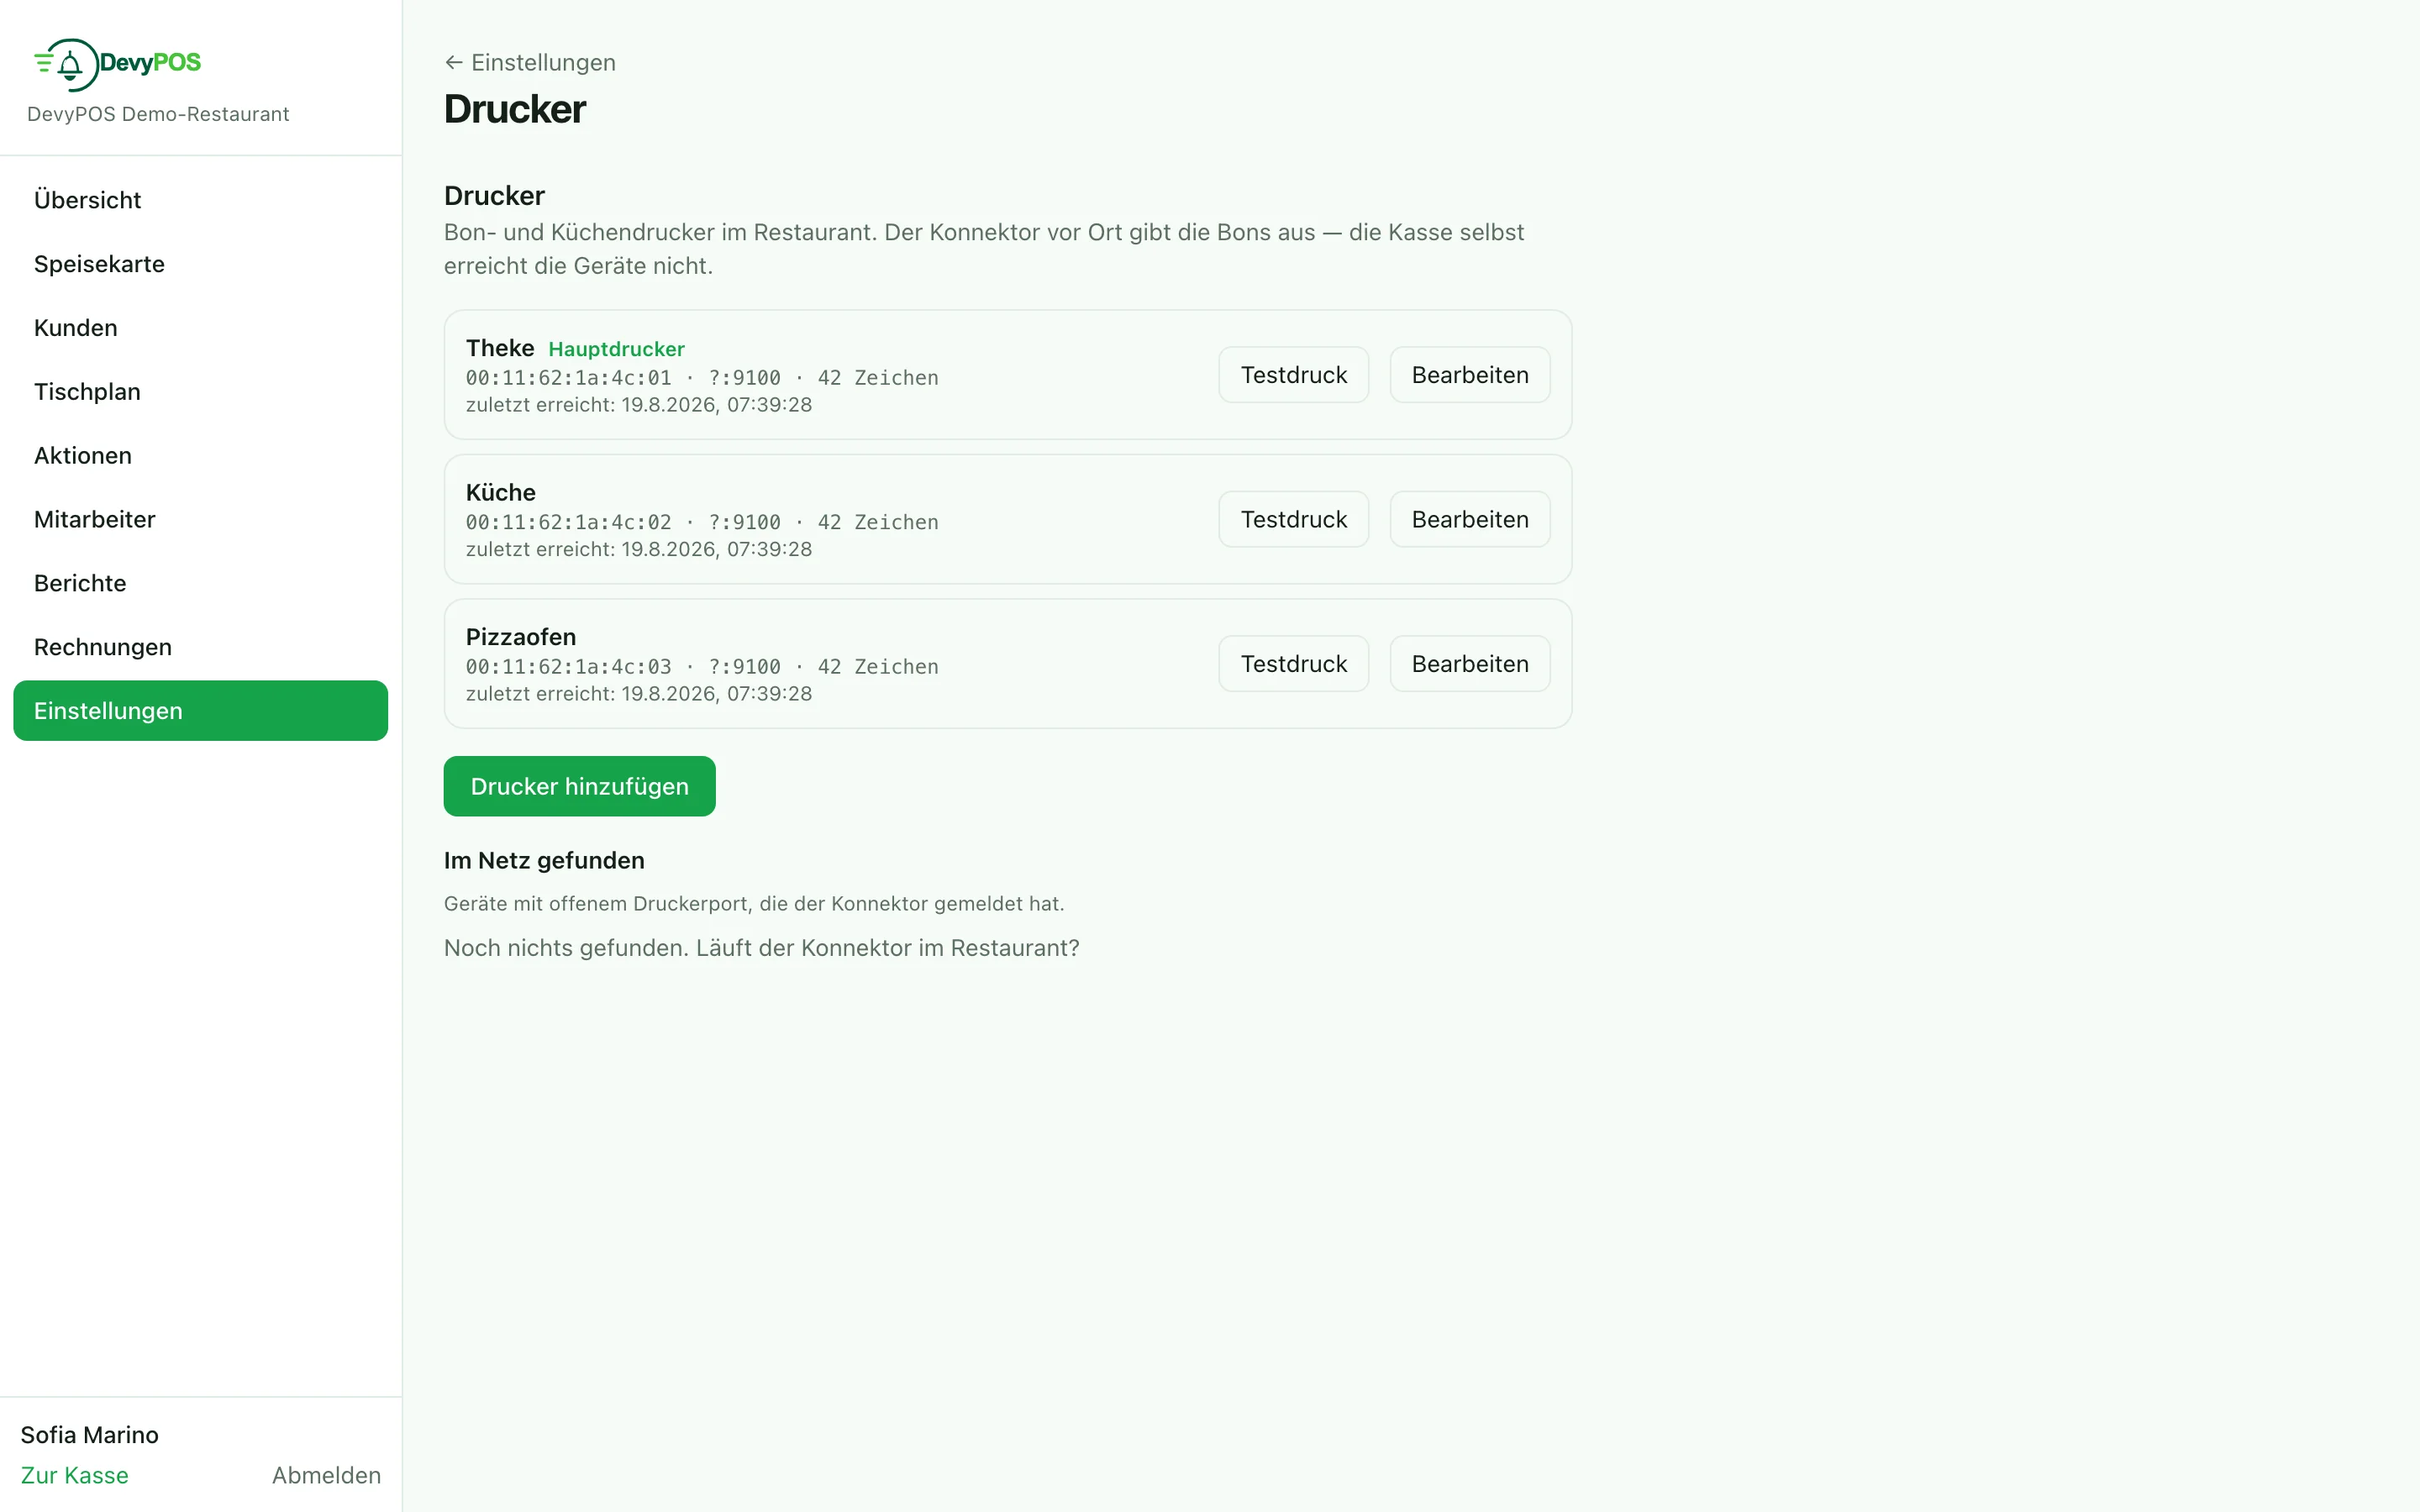
Under Settings → Printers the connector searches for devices on the network when you tap Search now; you take over what it finds with use, or you add a device manually with Add printer. For each printer you define:
- Name – such as counter, pizza oven, grill,
- MAC address and Type – kitchen printer or receipt printer,
- Main printer (till) – issues the customer receipts and catches everything a failed kitchen printer cannot print; product groups without their own kitchen printer end up there too,
- Paper width – 80 mm (48 characters), 80 mm narrow (42) or 58 mm (32).
Which product group prints where is set on the product group: open the group in the menu via the pencil icon and choose the device under Kitchen printer (see Maintaining the menu). If it says No printer there, the main printer prints the kitchen ticket. Use Test print to check each device individually.
3. When a printer fails
If a device does not answer, DevyPOS prints the ticket on the main printer and reports this at the till. You are asked whether the printouts should be issued there for today. If a device fails several times within two weeks, the till offers a permanent redirection; in the back office the printer then shows output is permanently redirected.
If the connector itself is offline, tickets are queued and printed as soon as it reports back. The till shows Printer offline — n receipts waiting; in the back office under Printers you see No connector online with the last contact and, per printer, how many tickets are waiting.