Table plan
When you serve in the venue, the same till works with a table plan instead of a delivery list.
1. Creating rooms and tables
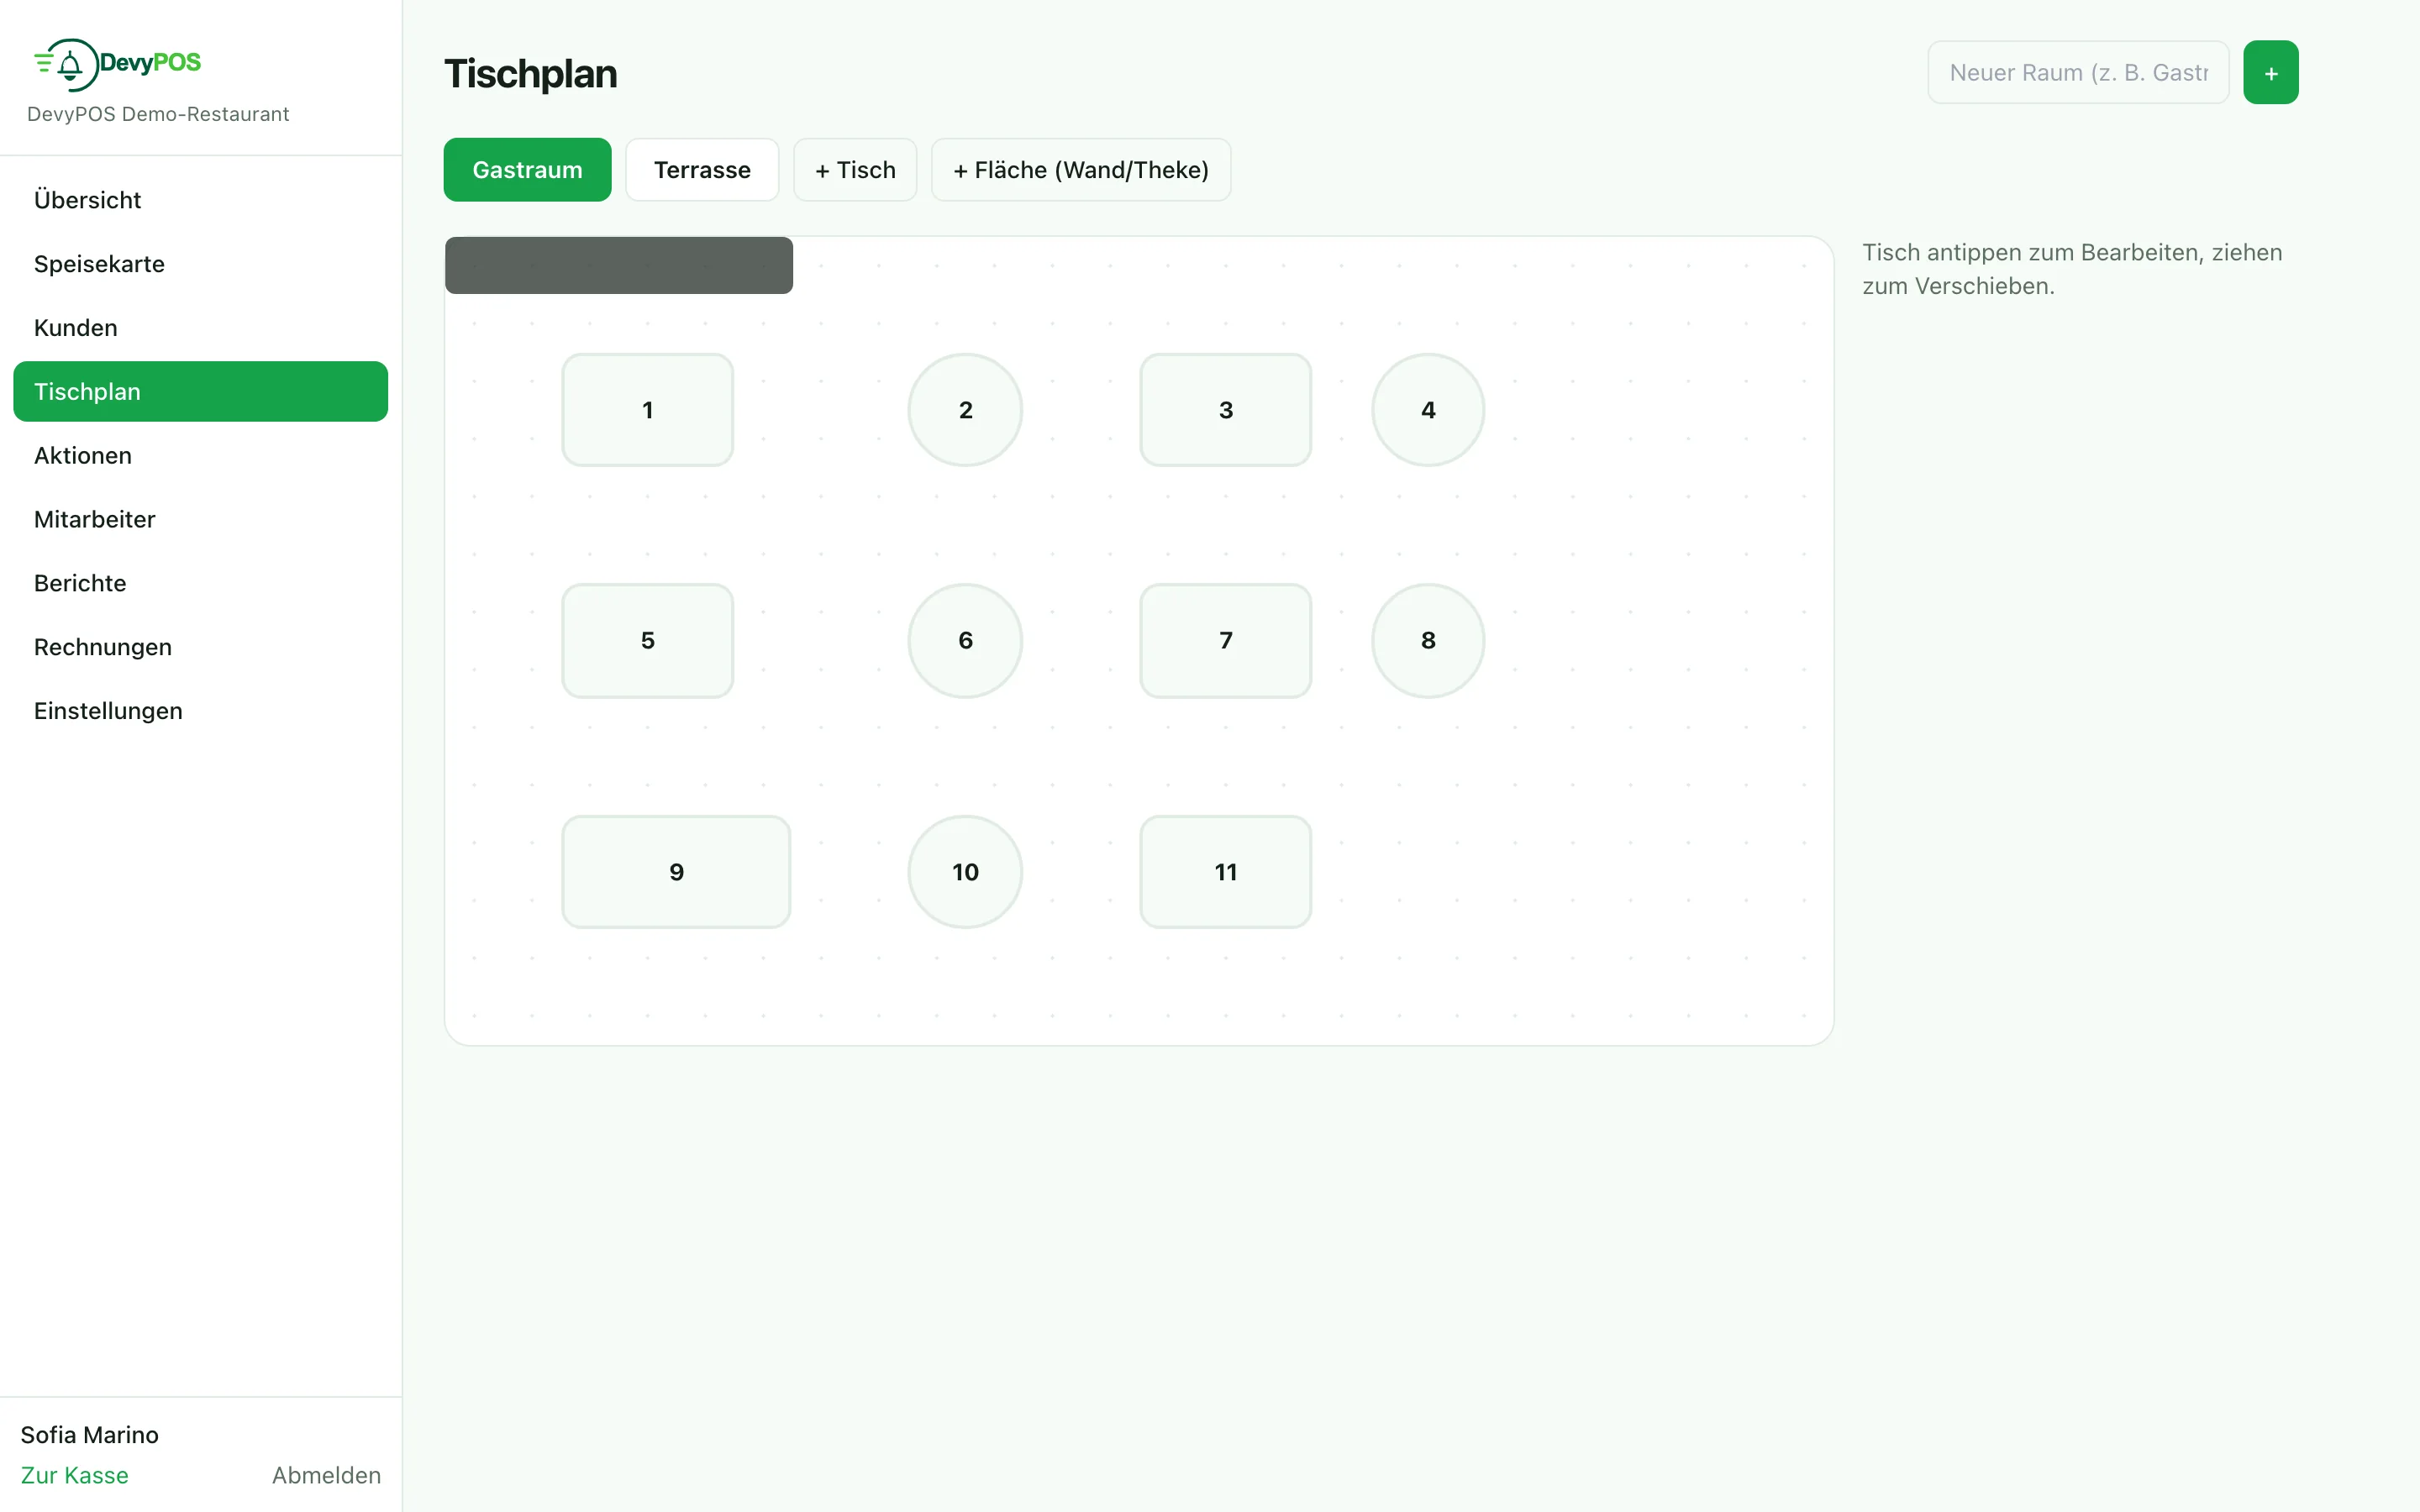
In the back office under Table plan:
- First create a room, for example dining room, terrace or side room.
- Then add tables with + Table: table number or name, seats, shape (square or round), size and rotation.
- Drag the tables into place with the mouse or your finger.
- With areas (+ Area (wall/counter)) you draw walls, the bar or the counter so the plan resembles the real room.
2. Ringing up dine-in orders
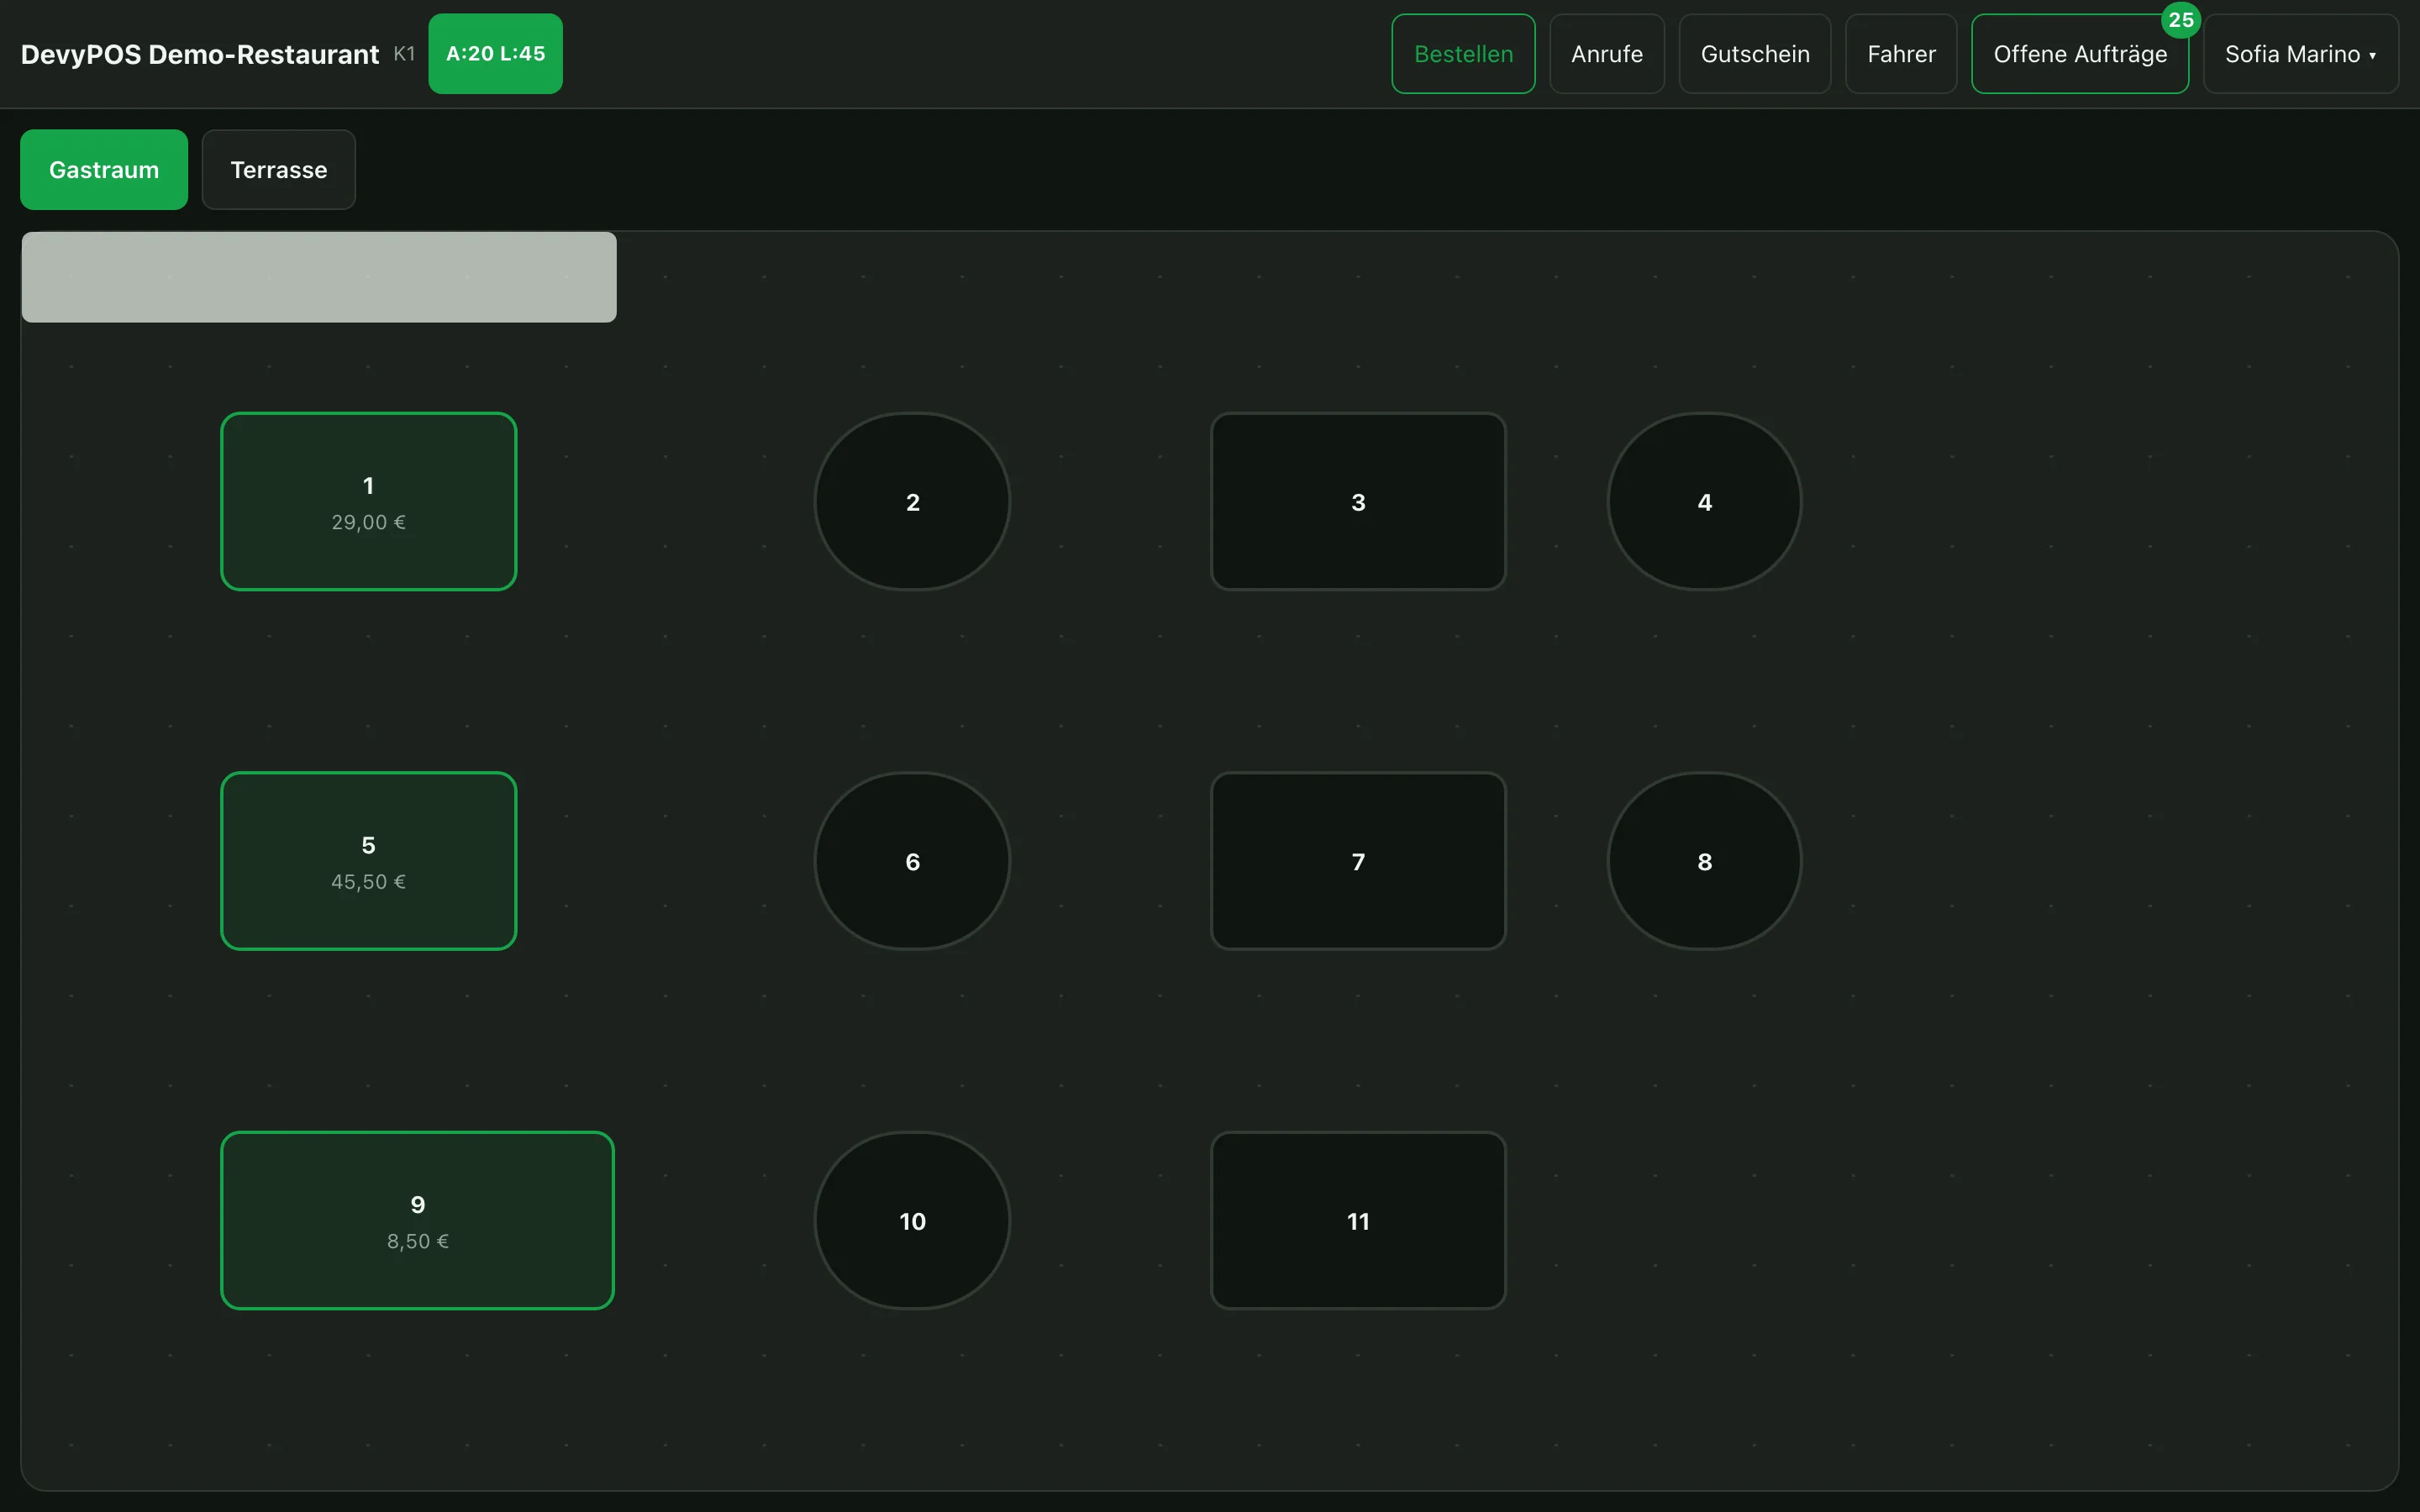
At the till Table plan (key F7 by default) leads to the overview. Occupied tables show the open total. Tap the table, choose Add items – you pick the items as with any other order; Add items — Table … attaches them to the table, and the till returns to the table plan. Further rounds are added the same way. The order stays open at the table until it is finished there via Charge.
3. Split, move, merge
| Action | What for |
|---|---|
| Split | Separate bills – by Items or by Amount (allocated proportionally across the open items); Pay the rest closes the table |
| Move table | The party moves: tap the target table, done |
| Merge | Two tables become one order: open the table that stays, Merge, then tap the table that joins |
| Guests | Record the number of guests at the table – optional, also later |
When moving, the target table has to be free; when merging, the table joining in needs an open order – otherwise the till rejects the action. When merging, the items of the joining table move into the remaining order; its own order is closed as cancelled and appears that way in the order list. Tables that have already been partly paid cannot be merged.
4. Reservations
A free table can be reserved straight from the table plan: tap the table, choose Reserve … – name, guests, phone, date, time and a note. The table shows the time in the plan and is thereby marked without counting as occupied; when you tap it, the reservation can be ticked off as Arrived or Cancelled.