Taking an order
The most frequent task of the evening. It should work without thinking – so here it is once, calmly.
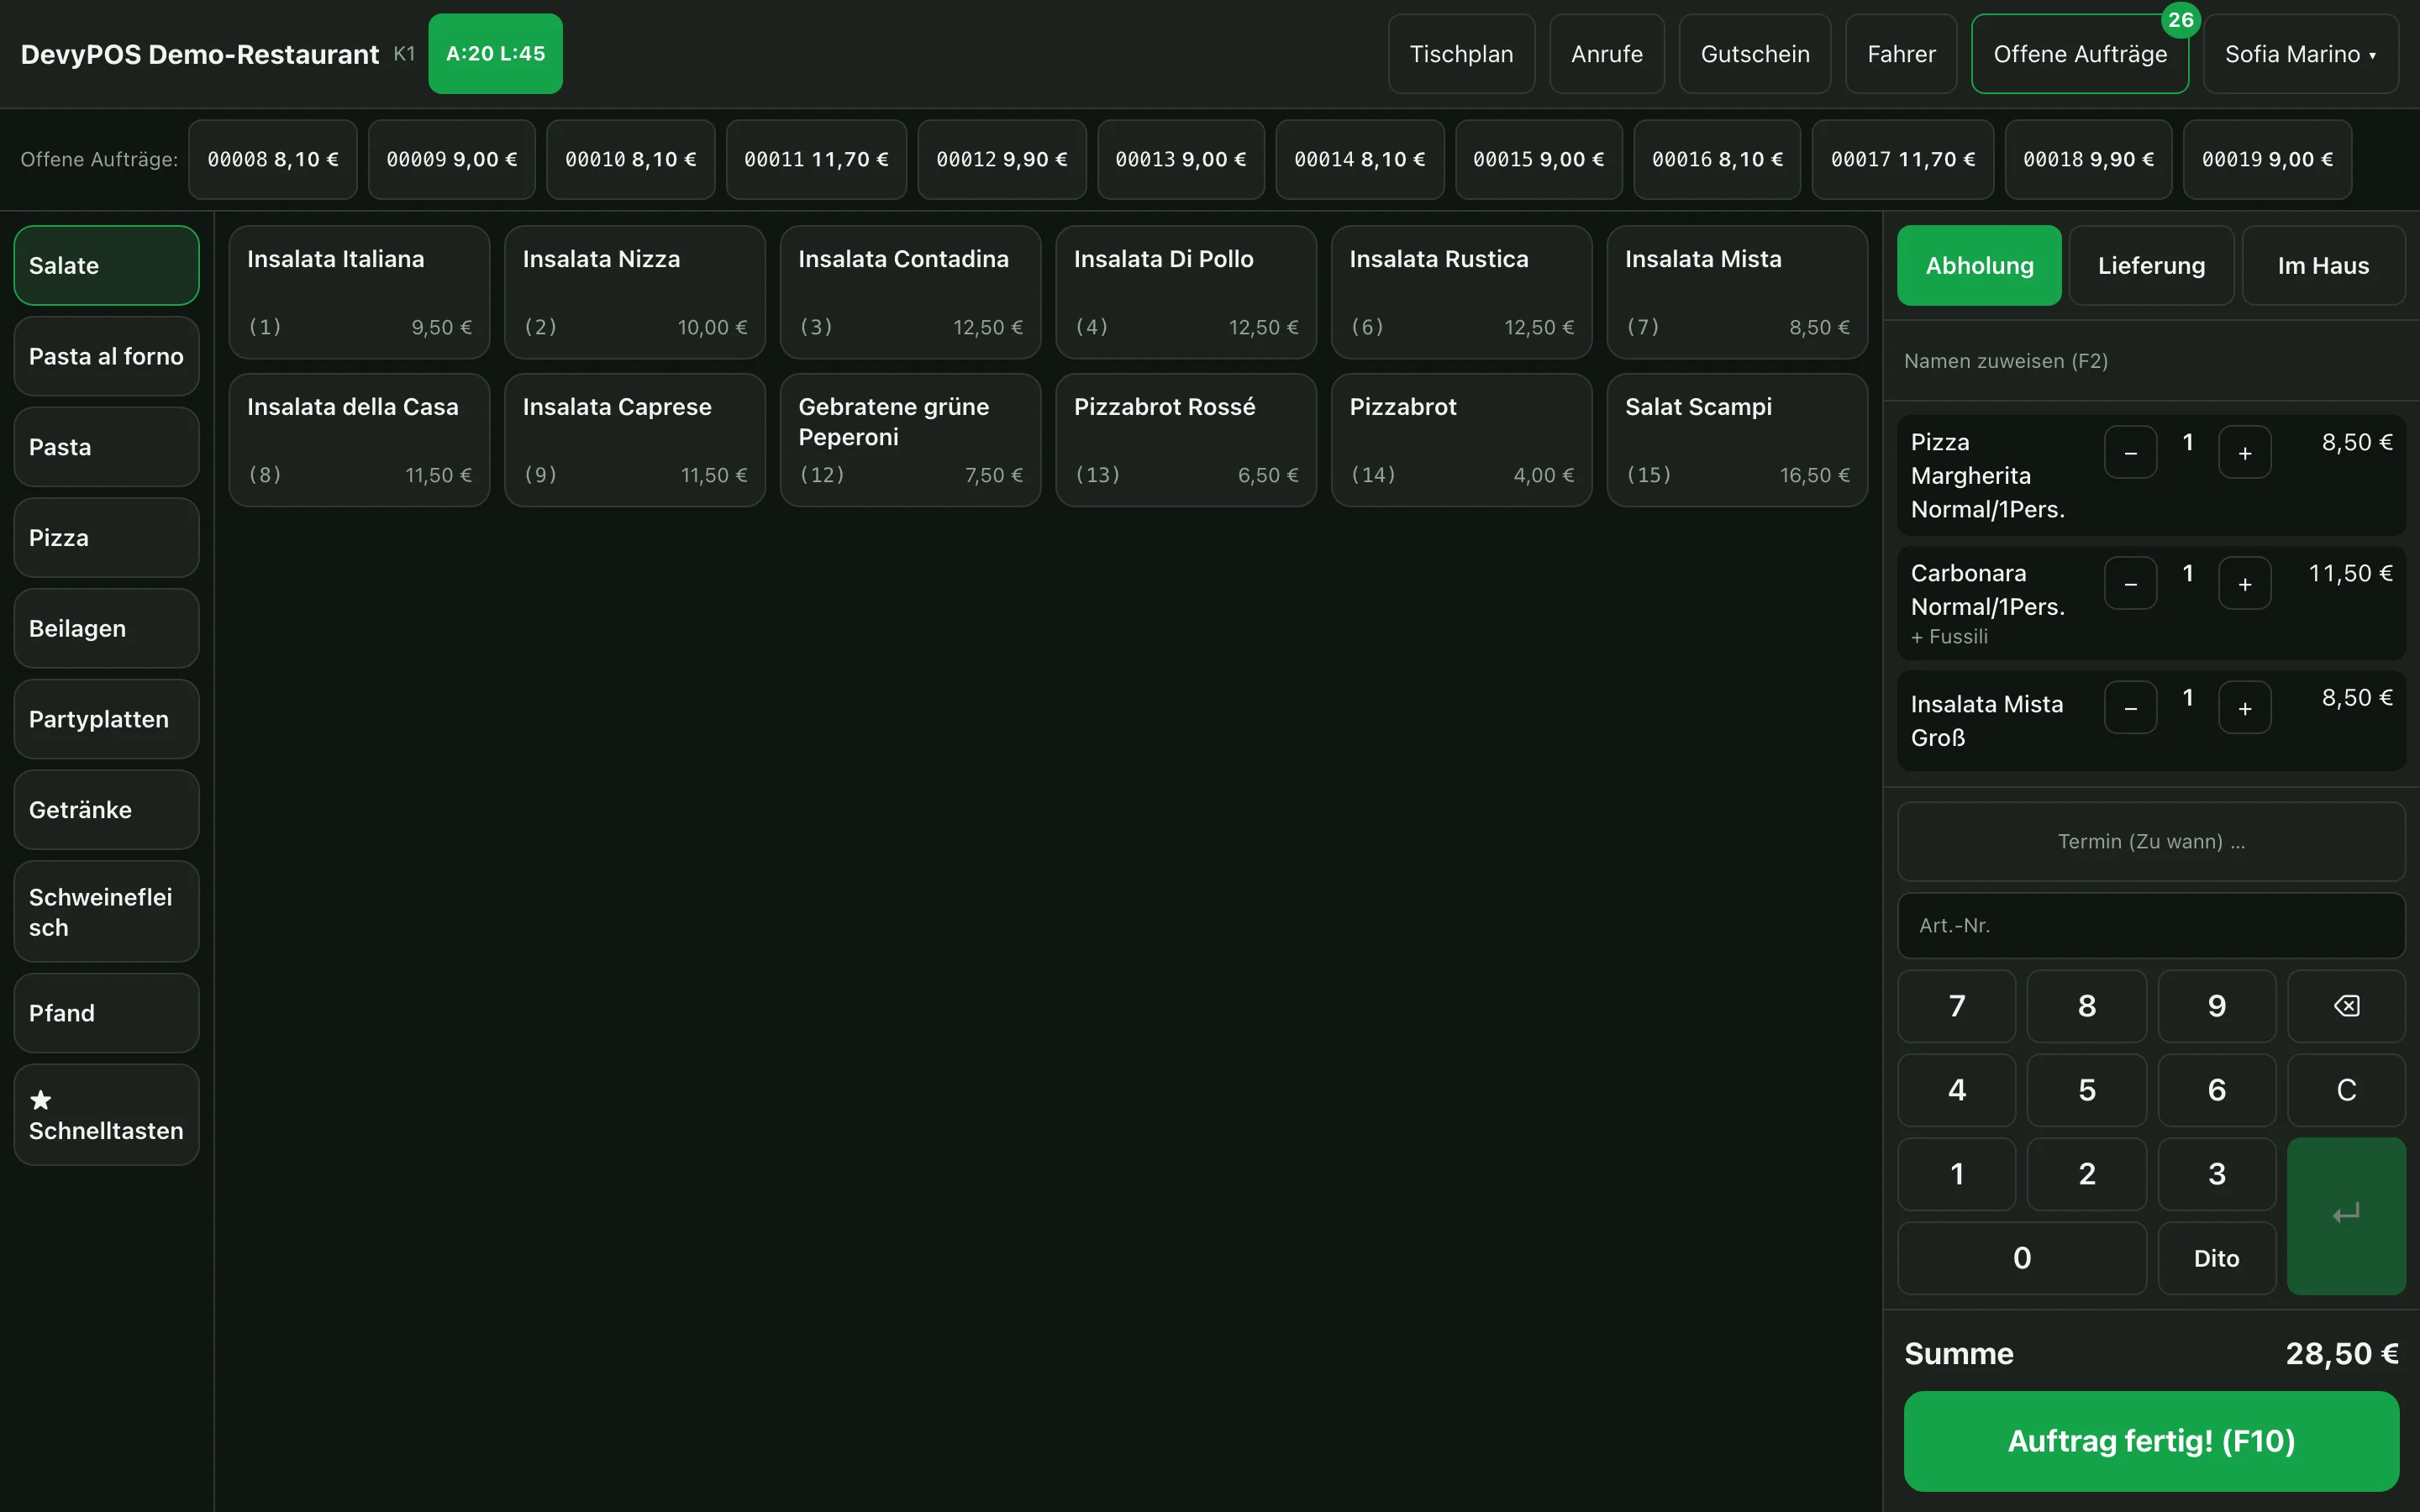
1. Choose the order type
Above the order you decide what it is about – at the top right in the Modern design, at the top of the middle column in the Klassik design:
- Collection – the guest picks the order up. Collection prices apply if they are set.
- Delivery – first the till asks for the customer (Phone number or Customer search, otherwise New customer), then address entry follows; after that the till checks the delivery zone, minimum order value and delivery fee.
- Dine-in – without a table this is the sale at the counter: it is paid straight away and the finishing button is called Charge. You pick a table via Table plan (F7); the order then belongs to the table and the button is called Add items — Table ….
2. Ringing up items
Three ways lead to the item – take whichever is faster right now:
- Tap: choose the product group, tap the item.
- Item number: type the number on the number pad – the till shows the match as a card right away – and ring it up with ↵. The field is called Item no.
- Search (with a keyboard): type at least two letters of the name – the result list appears and one tap adds the item.
If an item has sizes, the size selection opens automatically. For choice items (pasta type or side dish, for example) the till asks for exactly one option – it cannot be skipped, so nothing is missing in the kitchen.
Quantity and repeat
- Quantity: change it on the order line with − and +.
- Repeat: repeats the last line including all ingredient changes – ideal for “and the same again”.
3. Changing a line
Tapping a line in the order opens it for editing: add or remove ingredients, add a comment (Add comment); you change the quantity with − and + on the line (do not tap the price – with the discount permission that opens the free price entry). Apply change takes you back to the order.
4. Scheduled orders
For orders that should be ready later: tap Scheduled (for when) … (F11), choose the day in the Scheduled order window, type the time on the number pad and confirm with Apply. If the time is earlier than now, it applies to tomorrow. On the same day the order moves into the list of open orders with its requested time; the kitchen ticket prints immediately and carries the requested time. A scheduled order on a later day is only saved as a pre-order – without kitchen printing – and appears under Pre-orders in the till header; on the target day you release it with Complete & print.
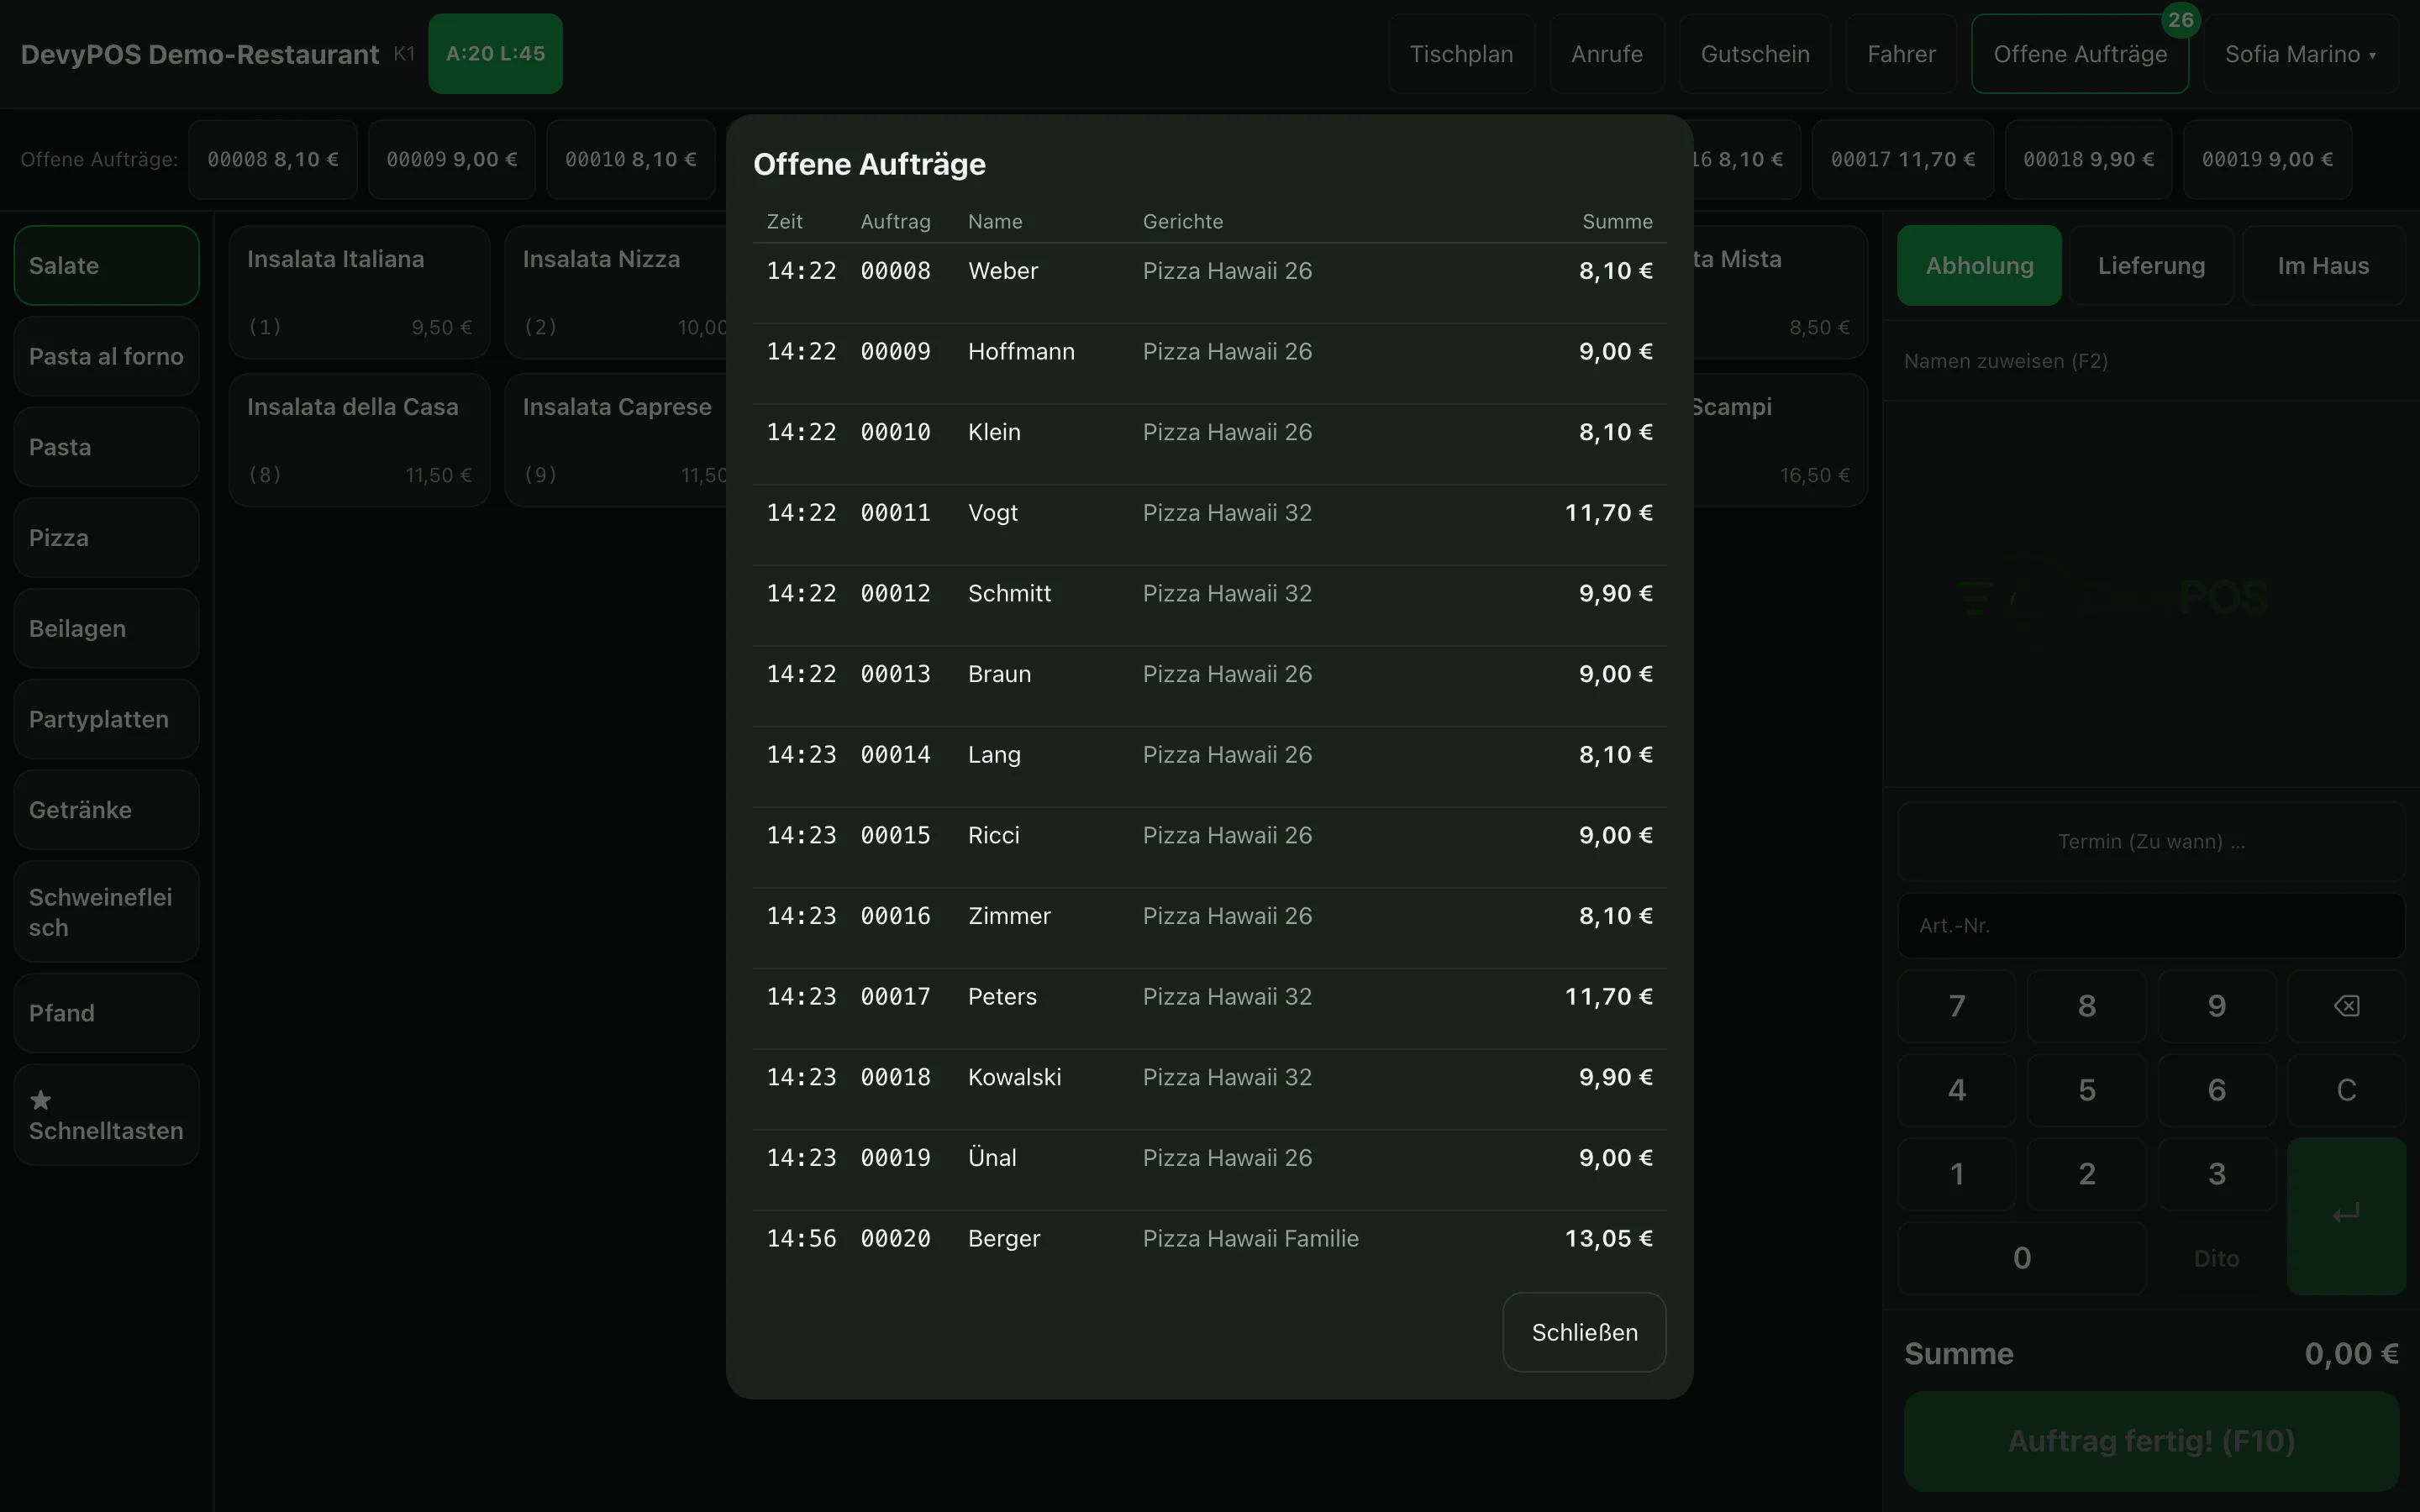
5. Open orders
All accepted orders that are not finished yet appear in a list with time, order number, name, dishes and total; the order shows the time accepted and the requested time when you tap it (Taken, Due at). Orders from the online shop are marked as Shop. You open the day’s list with Orders (F4); it additionally shows the payment method and status. A new order is completed with Order done! (F12) and then appears here; on pickup it is paid from the list with Charge.
The F keys mentioned are the factory assignment. Under Settings → Design → Tastenbelegung (F1–F12) (key assignment) the business sets them itself; the till buttons always show the key that currently applies.
6. Waiting times
Two numbers sit in the till header: the waiting time for collection and the one for delivery. When it gets busy, raise them there in minutes. The new values apply immediately – including in the online shop, which then quotes your guests honest times.