Signing in and setting up
Note: the DevyPOS interface is currently available in German and English. Screen labels quoted here are the English ones.
DevyPOS has two interfaces: the till for the evening and the back office for everything that happens before and after. You reach both at your venue’s address in a browser.
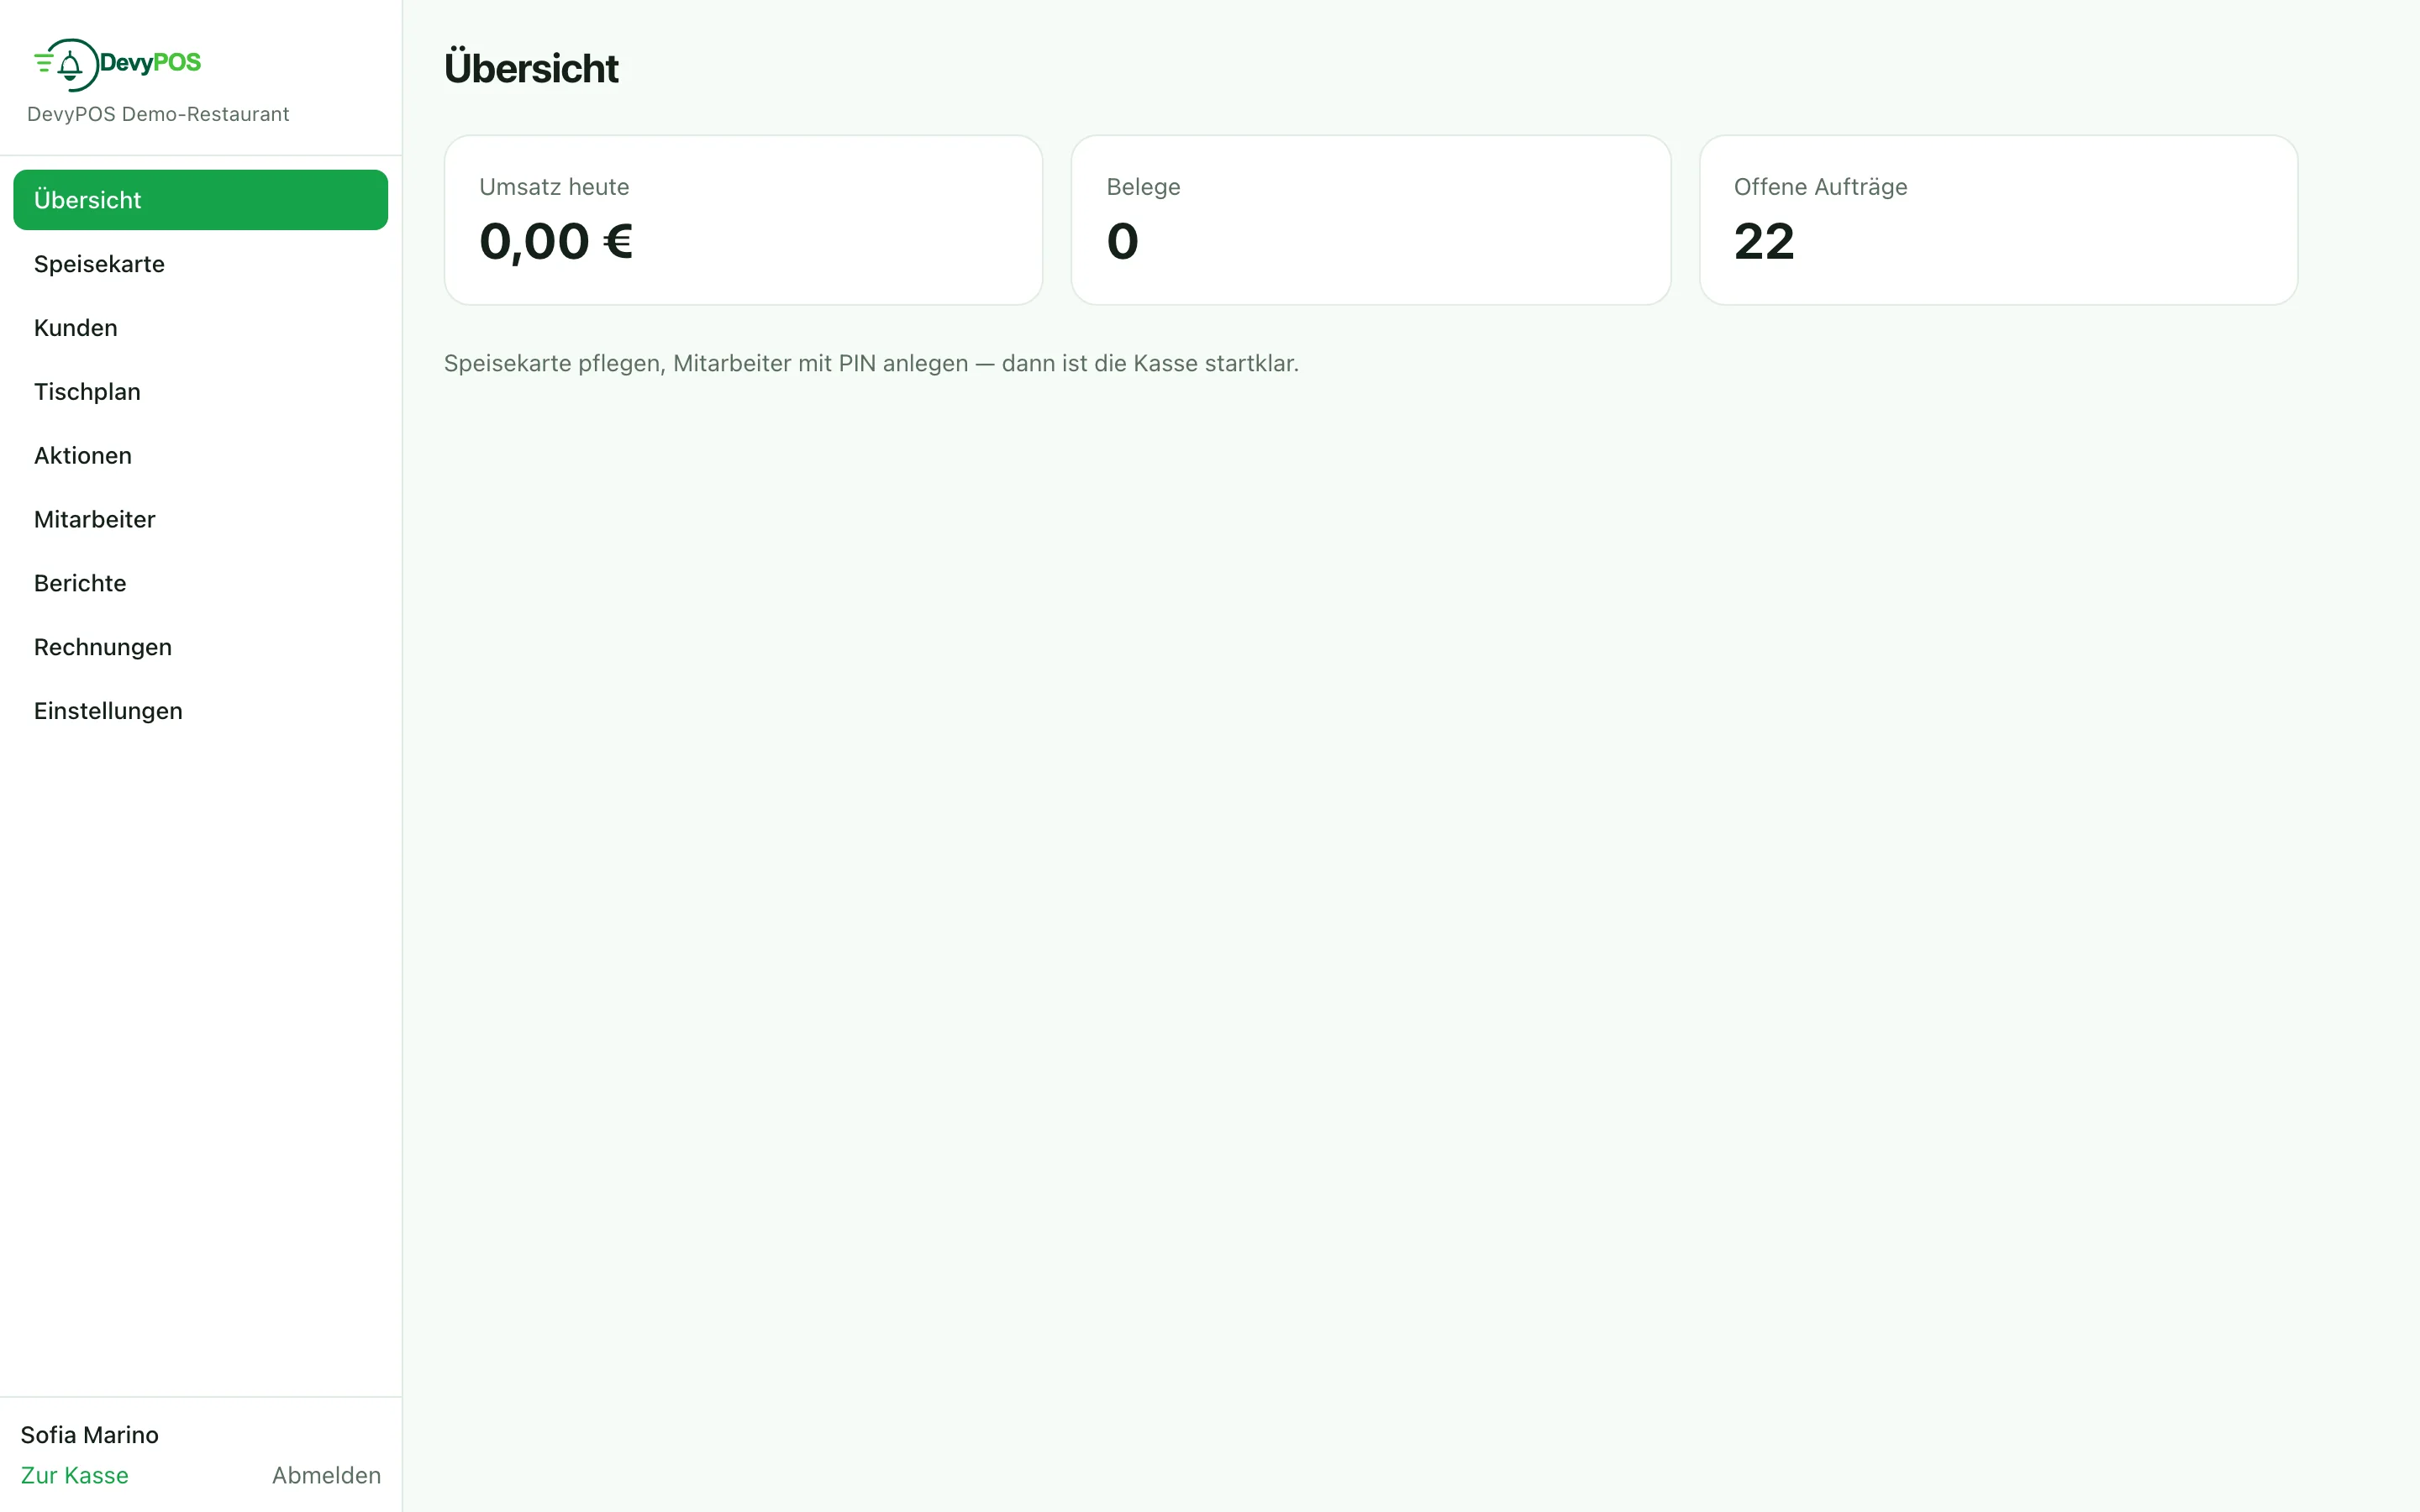
1. Signing in to the back office
- Open your venue’s address, for example your-venue.devypos.de.
- Sign in with email address and password.
- On the very first visit the screen “Welcome! Initial setup” appears, where you create the name of the restaurant and your owner account.
2. Signing in at the till
The till does not ask for a password but for a PIN of four to eight digits. That works with floury fingers too and is fast enough for service. Everyone gets their own PIN – it is the only way to trace later who voided an item or gave a discount.
Order of setup: menu first, then staff with PINs, then delivery zones and printers. The back office overview shows the hint “Maintain the menu and add staff with PINs — then the register is ready.”
3. What to fill in first
- Settings → Business & receipt: name, address and tax number. These details appear on every receipt and are mandatory.
- Menu: product groups, items, sizes and prices (see the chapter Maintaining the menu).
- Staff: role and till PIN per person.
- Settings → Delivery areas (ZIP): postcodes, minimum order value and delivery fee.
- Settings → Connector and Printers: set up the connector in the venue, connect the receipt printer, run a test print.
You are not on your own during setup: we create the menu, zones and printers together with you. Call us on +49 (0) 6825 9876-222.